The Terminal Header is an integral part of the platform interface. Some of its elements are intended to display information about the selected instrument and connected exchanges, while others are used to control the platform.
Below is a detailed description of the main elements of the Terminal Header.
Note: the set of displayed elements may vary depending on the selected exchange, market type (Spot / Futures), connected accounts, and display settings.

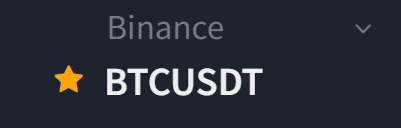
"Star" — indicates whether the pair has been added to Favorites (gold fill — added; outline only, without fill — not added).
If you have created your own list in the Symbol List block, clicking the star will open a menu where you can choose where to add the current pair:
- to Favorites
- to your custom list. (see screenshot below)
The exchange logo is located above the "star". The exchange logo is interactive. Clicking it allows you to select an exchange: Binance | OKX | Bybit.
More information about creating lists is described in the article: Symbol ListAlso, clicking the exchange logo opens a context menu where you can configure the display filter for pairs for each exchange.
This filter can be used to display only the pairs you trade.
This allows you to exclude pairs that are not available in your portfolio from the pair search results.
You can also choose which exchanges are displayed when entering a ticker.
The switch above the trading pair name allows you to quickly switch between spot and futures trading. For example, for the BTCUSDT pair shown in the screenshot, Binance Spot and Binance Futures are available.
The "Search only on the selected exchange" option searches not only within the current exchange, but also within the selected trading market (spot or futures).
Selecting a trading pair.
The active trading pair can be changed directly from the Terminal Header.
Start entering the name or ticker of the required instrument — available options will appear in the drop-down menu.
In the pair selection menu, you can also configure the display of available exchanges and trading markets.
This allows you to limit the list and find the required trading pairs faster.
"Refresh symbols" option — click it to immediately load all changes to the available trading instruments.
Quick symbol input is available. Press "/" to activate the ticker selection field and immediately start typing the name of the trading pair.With the filter configured above, for example, to show only USDT pairs, the list of pairs will be significantly reduced, making it easier to find the required pair. See the examples in the screenshots above and below.

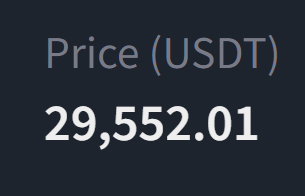
This block displays:
- current price of the active trading pair;
- price change over the last 24 hours;
- additional information about the trading instrument.
Depending on the selected exchange and trading market, the set of displayed parameters may vary.
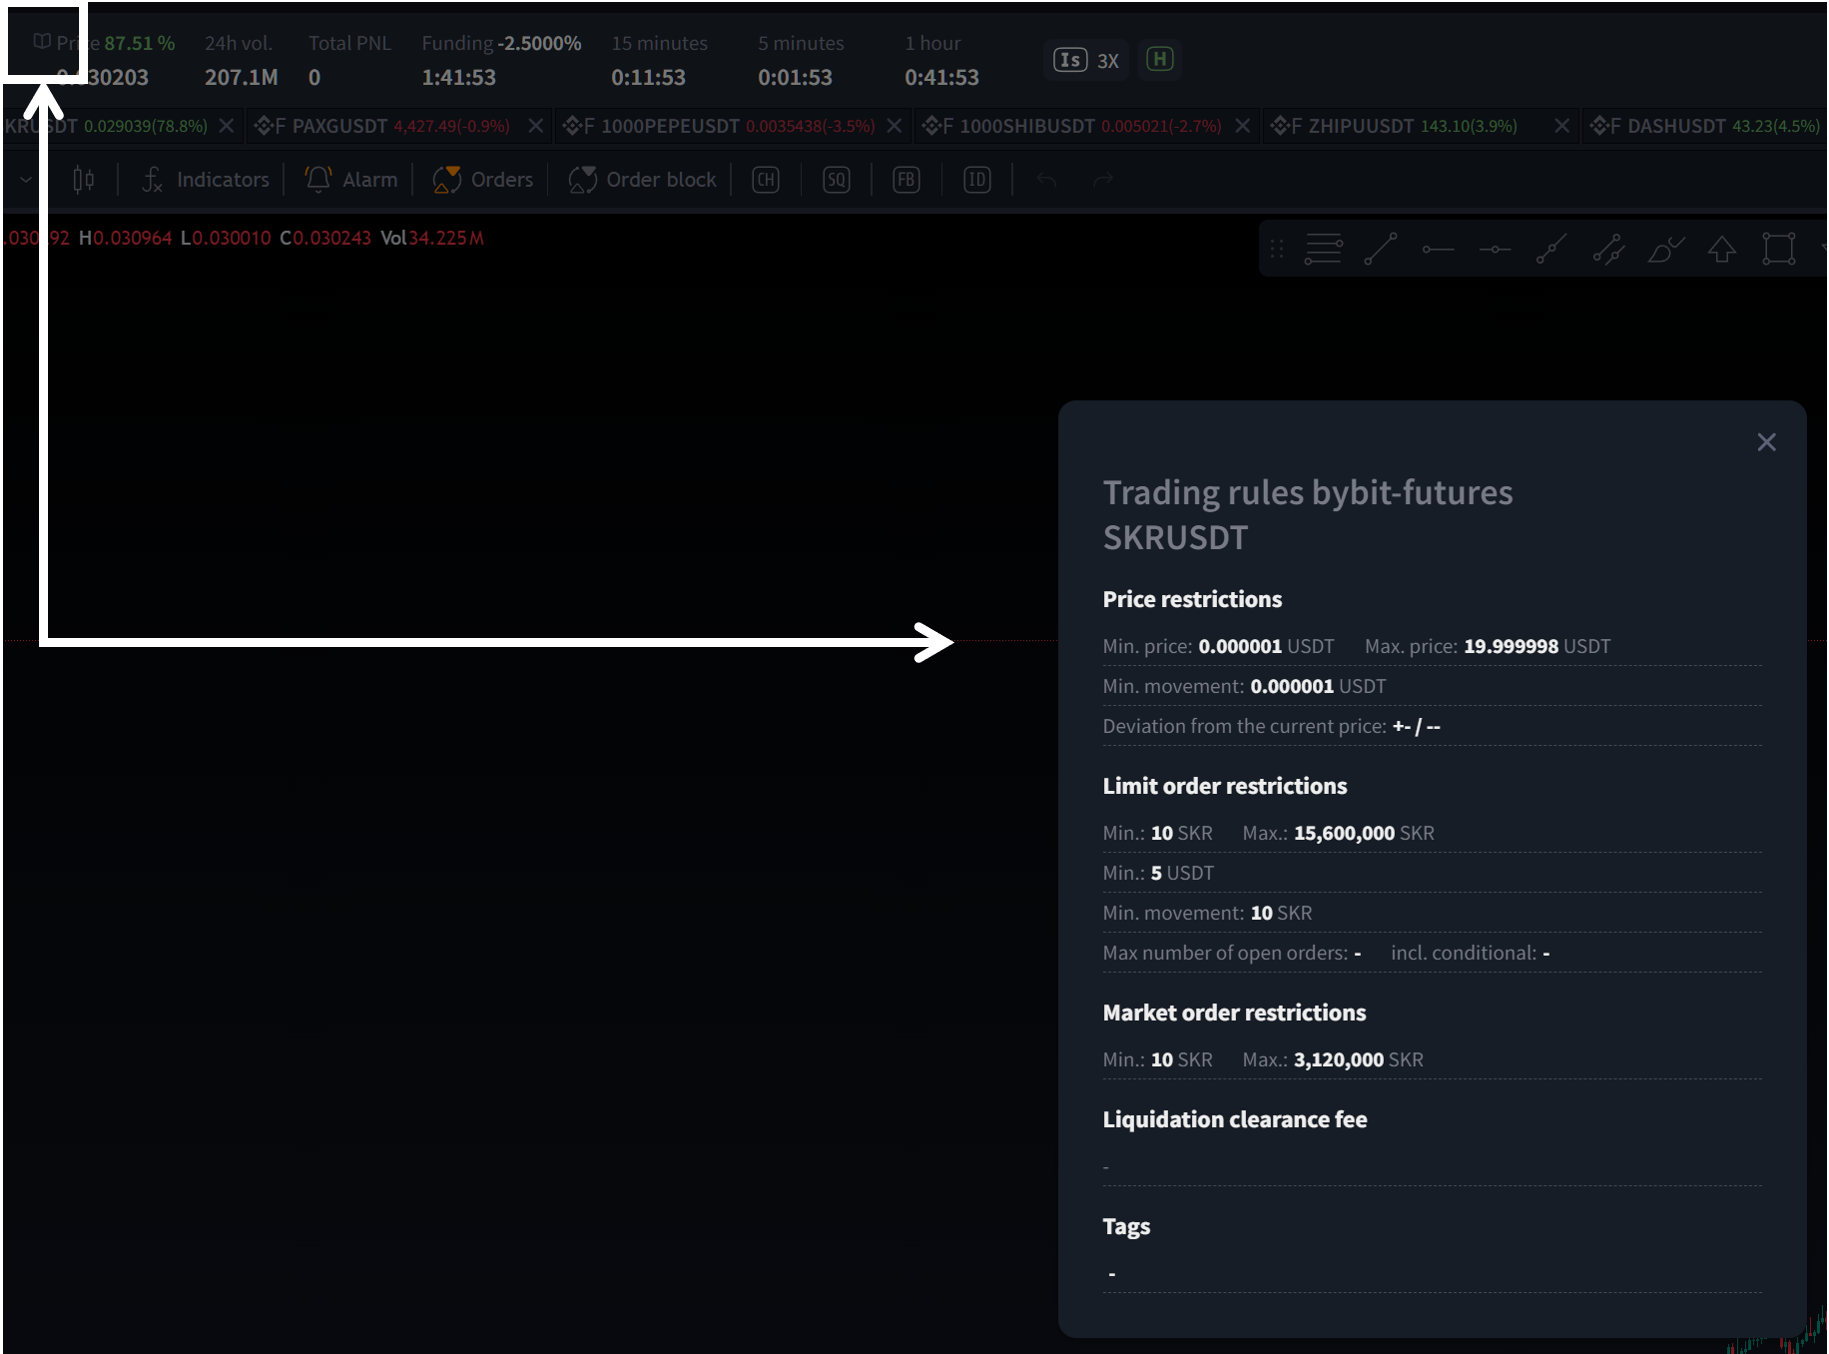
1Information about trading rules is available through the interactive element next to the instrument data.

This block displays the trading volume of the selected trading pair over the last 24 hours.
This value allows you to quickly assess the current activity and liquidity of the instrument.
5. Total PNL (Futures only)
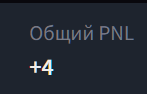
This widget displays your historical PnL calculated and stored by the exchange.
Depending on the exchange, the PnL counter may store PnL separately for hedge mode or one-way mode.
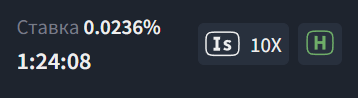
This part of the interface appears in the Terminal Header when any futures pair is opened. It contains the following elements:
- "Funding Rate" — displays the current funding rate for the selected trading pair, as well as the timer until the next funding calculation. More information about funding can be found in this article on the Binance exchange.
- Margin type and leverage — clicking opens a modal window where you can change the margin type and leverage. Margin and leverage settings are saved separately for each trading pair and are stored on the exchange. You can also change the margin type and leverage for several trading pairs at once. To do this, activate the "Change all" checkbox, then select the required trading pairs in the dialog window and click "Save".
When working with the futures market, additional parameters related to futures trading are displayed in the Terminal Header.
Depending on the exchange and type of trading account, the following may be displayed:
- Funding Rate;
- timer until the next funding rate calculation;
- margin type;
- leverage;
- trading mode.
Funding Rate
Displays the current funding rate for the selected futures pair and the time remaining until the next calculation.
7. Timeframe End Widgets
You can add up to 4 timeframe end widgets.
To add an additional widget, unlock the lock on the right side of the platform header (enter block editing mode) and use the "plus" button to add the required widgets.
The widgets are interactive. Clicking them allows you to configure both the timeframe itself and the notification about its completion.
The platform allows you to add up to 4 special widgets that show how much time remains until the candle closes for the periods you select.
How to do this:
- First, enter editing mode — click the ? icon in the upper-right corner of the top panel (it should "open").
- Then click the "+" icon and add the widgets one by one (maximum 4).
- Want to change the period or configure a notification? Simply click any widget — a settings window will open.
8. Margin Type and Leverage
Clicking the corresponding element opens a settings window where you can change the margin type and leverage.
Settings can be saved separately for each trading pair.
Trading Mode
For futures instruments, the following trading modes may be available:
- one-way mode;
- hedge mode.
The widget is interactive.
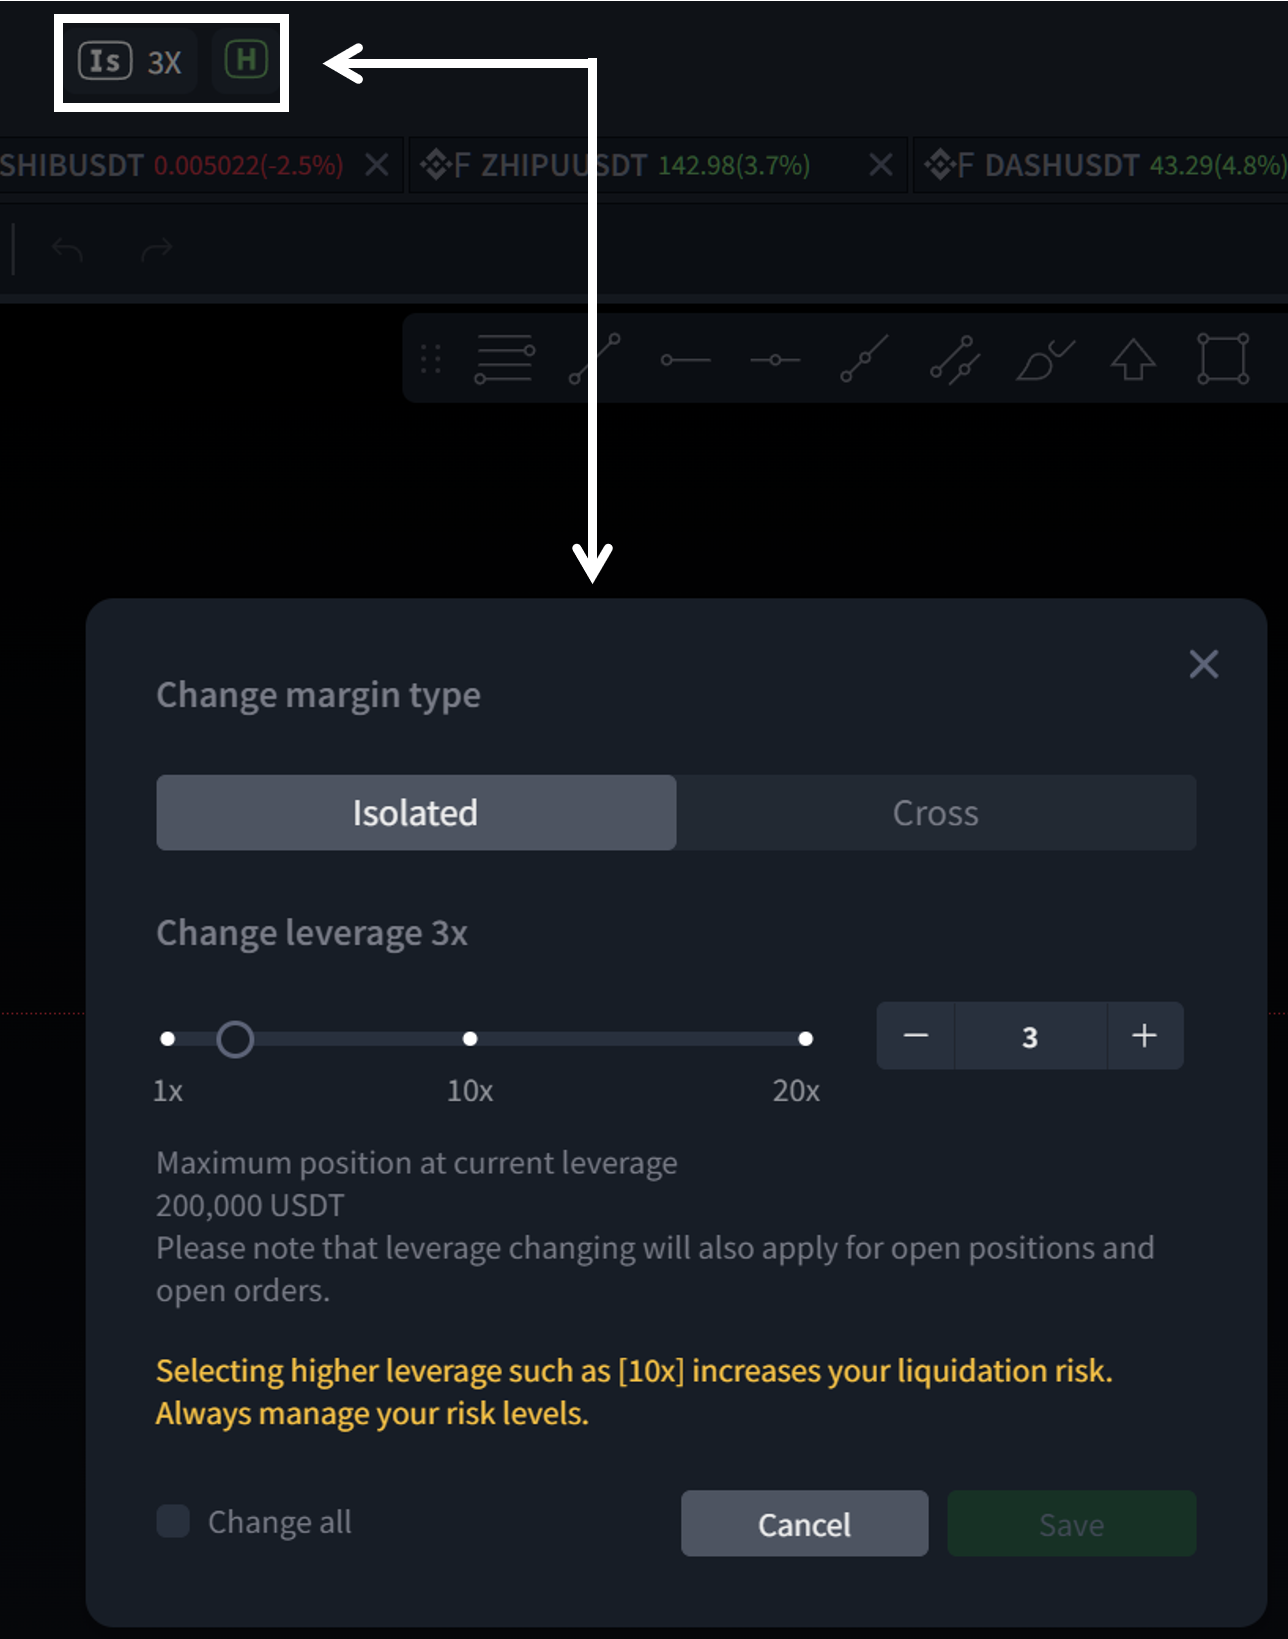
- Trading mode selection — one-way mode or hedge mode. More information about trading modes can be found in this article (link).
The funding rate widget is interactive. Clicking the widget opens an additional menu with widget settings, including the option to enable notifications about changes in the funding rate.
The right side of the header displays information about the status of the connected exchange portfolios.
Interactive widgets are used for connected exchanges, allowing you to quickly view the main account indicators.
Depending on the settings and available data, the following may be displayed:
- current balance;
- balance change over the last 24 hours;
- PNL;
- percentage change.
Clicking the widget opens a menu with additional display settings.
Widgets can be added or removed through the editing menu.
"Eye" — clicking it enables/disables the hidden balance mode. In this mode, the Portfolio section is unavailable, and the user's personal account balance data is also hidden in all platform fields.

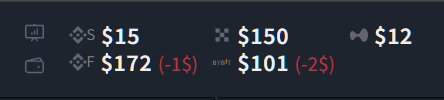
"Portfolio value" is the sum of all assets currently held in the user's portfolio on the selected exchange, converted to USDT according to their current value. The change in portfolio value includes changes in asset prices as well as deposits, withdrawals, and transfers.
10. Interface Controls: "Zen Mode", "Sound" and "Lock"

- "Zen Mode" - opens the terminal window in full screen. Upon the initial activation of Zen Mode, it is necessary to configure the size and layout of the terminal blocks, and it is also possible to disable (remove) the display of unnecessary blocks. After the configuration, when switching to and from Zen Mode, the terminal automatically loads the size and layout settings of the terminal blocks for each viewing mode.

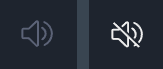
- "Notification sound" - clicking turns on/off notification sound during trading.
- Clicking "Lock" locks or unlocks all blocks in the main "Trading" section, switching to the editing mode. This allows the user to change the position of blocks, as well as the size (not for all of them).

When "Blocks unlocked" mode is enabled, the name of each block, as well as the "Help" and "Close" icons, appear in the upper-right corner of each block. Clicking the "Help" icon opens the corresponding section in the Knowledge Base; clicking the "Close" icon hides the block in the terminal window.

Block sizes can be changed by clicking and holding the lower-right corner of the block (in editing mode, an arrow pointing down and to the right is displayed on the blocks as a hint).
Also, in "Blocks unlocked" mode, the "Add \ remove blocks" button (a plus sign inside a circle) appears in the lower-right part of the screen. Clicking it opens a menu with all blocks available on the platform. Blocks are added or removed by clicking the corresponding menu items. The presence or absence of a checkmark next to the block name indicates whether the block is currently displayed on the screen.

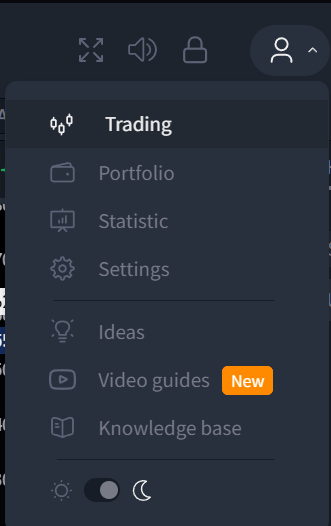
8.1 Main Menu
8.2 Support
Clicking on the "Support" icon initiates the launch of the interactive support widget.
In the widget, you can search for information in the platform Knowledge Base by keywords, browse Knowledge Base articles, and create a support request ("ticket") if you cannot find an answer to your question. To do this, use the "Contact us" button, fill in all the required fields, attach a screenshot and/or images/files if necessary, and click "Send".
The support response will be sent to the specified email address.

The widget allows users to search for information in the platform's knowledge base using keywords, view articles, and also create a ticket if the user cannot find an answer to any question. To do this, users need to use the "Contact Us" button, fill in all fields, attach screenshots, images or files if necessary, and click "Submit". The support team will respond to the provided email address.
9. Connection Stability Indicator

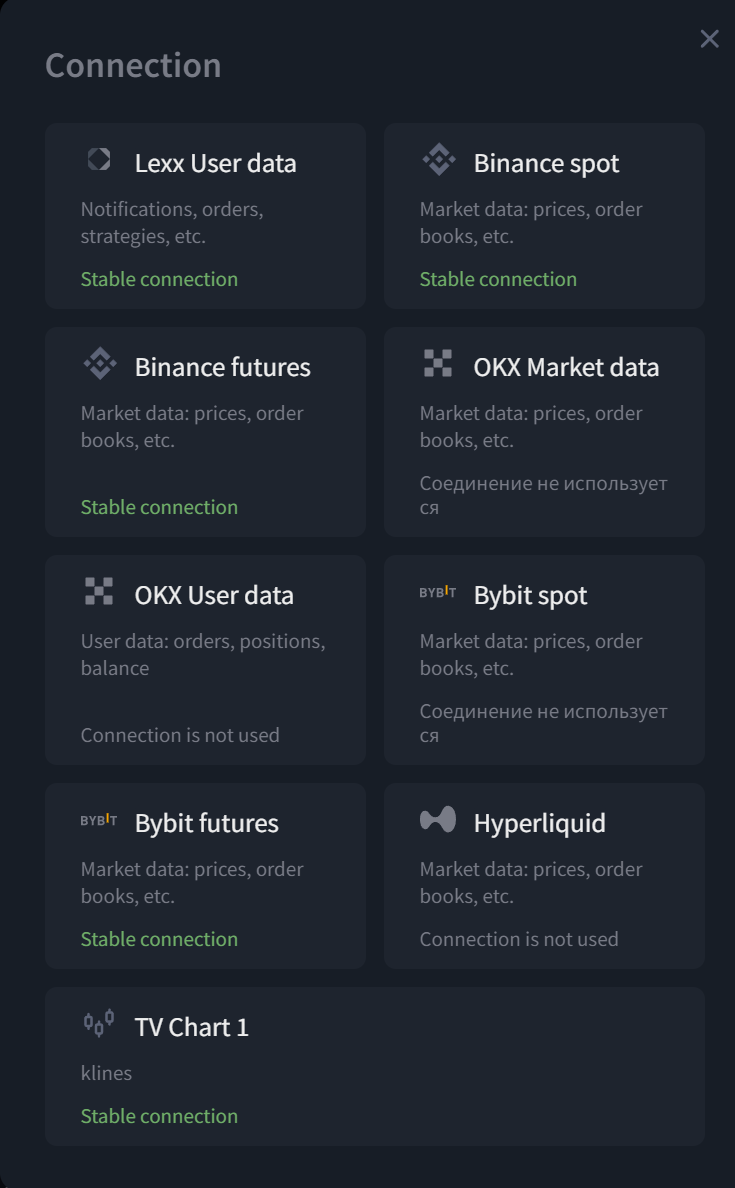
The indicator shows the stability of the internet connection between the user's device and the platform servers. Depending on the connection quality, it can be green (good connection), yellow (delays in processing user requests are possible), or red (poor connection; it is recommended to check and configure the internet connection). Clicking the icon allows you to view more information about the connection.
Important: the availability of individual elements and their set in the Terminal Header depends on the selected exchange, trading market type, connected account, and available license features.
Was this article helpful?
That’s Great!
Thank you for your feedback
Sorry! We couldn't be helpful
Thank you for your feedback
Feedback sent
We appreciate your effort and will try to fix the article
Ready to try it live?
Everything in this guide works in the LEXX terminal — exchange API connections, trading strategies and automation.
Open the terminal About LEXX Platform